Monday, January 23, 2012

Sew-For-Yourself: Monogrammed Apron


Step 1: Start with a square piece of fabric.
I chose a light blue and white seersucker...you can use anything for this project!

Step 2: Hold it up to your "client" and get an about measurement of where to cut for the arms.  
This can be made for a child or an adult! 

Step 3:  Cut armholes as shown.

In order to get matching armholes, fold your material in half, length wise after you cut the first armhole and use that as a guideline to cut your second armhole (pictured below):


Now your material should look like this:

Step 4: Hem all edges.
I serged around the edges first and then did a 1/4" hem with my sewing machine all the way around.


 Step 5: Add elastic to neck line.
I cut a piece of narrow elastic, pinned it to each side of the top and sewed straight across.  I chose to use elastic for the neck because now my little "client" can pull it on and off easily without needing me to tie it for him.


Step 6: Add ribbon to sides of apron.
I had a roll of wide, grosgrain ribbon on hand.  I cut two equal pieces and sewed each one onto either side of the apron, right at the base of the arm cut outs.


I added some fray check to the ends of my ribbon to keep it from fraying and looking sloppy.


Step 7: Grab some felt and cut out your monogram letter.
I used black for contrast.  I free-handed the letter C, but you could print out a letter from your computer, cut it out, pin it onto the felt and cut around it if you are looking for a certain font, like a pretty cursive!


Pin the letter on and carefully stitch it onto your apron.


This is an optional step.  I used my remaining pieces that I cut from my arm holes in step 3 to make a pocket.  

Just hem around the edges.
The left is a picture of what the back of your pocket will look like and the right side is what the front will look like:

Then I sewed the sides and bottom of the pocket onto the apron, leaving the top open.

Someone loved it.


He likes to "cook" with me.  In fact, we "cooked" up some chocolate milk as soon as he got his apron on!  He thinks stirring means he's cooking something good...so he get's to do lots of stirring :)
 Look at this kid.  He's so serious.


A little too much flour on his nose.
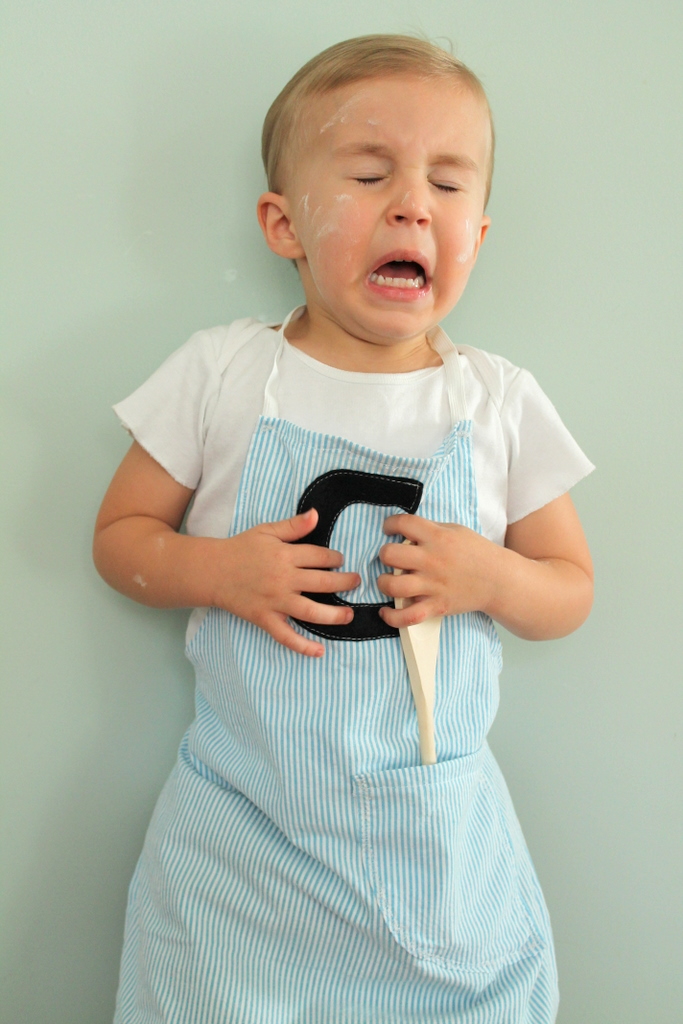
This apron would make a great gift too!  For birthday people of all ages :)
Easy, functional, fun and "client" approved!

Happy Monday everyone!
Don't forget, there's still one more day left to get your coupon codes for the Valentine Mug sets.
Valentines Day is only THREE weeks away!!!


Friday, January 20, 2012

Mr. & Mrs. Mustache Contest


This week, I added a new couple to my shop...just in time for Valentines!

I think they make a cute couple. 


I decided to do a contest for all my readers.  
The regular price on this mug set is $40 + shipping
However, I have decided to give everyone a chance to get a great price on a pair of these for your Valentine.

Here is how:
1.  Become a follower of my blog
2.  Facebook this link
3.  Tweet about this link...include @PaulaKathlyn so I can see your tweet!
4.  Repin this link on Pinterest
5.  Blog about it! Make sure to include the link back to my blog and etsy shop.
6.  Like The Patriotic Peacock on Facebook.

If you do ONE of the above, email me at retrogalusa@aol.com for your 10% off code!
If you do TWO of the above, email me at retrogalusa@aol.com for your 15% off code!
If you do THREE of the above, email me at retrogalusa@aol.com for your 25% off code!
If you do FOUR of the above, email me at retrogalusa@aol.com for your 30% off code!
If you do FIVE of the above, email me at retrogalusa@aol.com for your 40% off code!
If you do SIX of the above, email me at retrogalusa@aol.com for your 50% off code!


The discount price is only valid on the Mr. & Mrs. Mustache and Lipstick Sets.
You must email me to receive your discount.
Contest closes Tuesday, January 24! 
 Discount codes expire February 14!!
Good luck!!!!

Thursday, January 19, 2012

Skinny Mama's No-Bake Cookies


I'm by no means anywhere near being a "skinny mama" right now...but so as not to gain 60 pounds this pregnancy, I have been experimenting with healthier options.  I love no-bake cookies and decided to do my own low sugar version.  
They turned out yummy...especially since I know the calorie content is much lower than the regular kind!
Here's my concoction :)

Recipe:
1 1/2 Cups of Splenda
1/2 Cup Sugar
1/2 Cup Natural Peanut, Cashew or Almond Butter
1 Stick of Smart Balance Butter Blend or just regular butter
1/2 Cup Milk
1 Tsp Vanilla Extract
3 Tbl dark cocoa powder
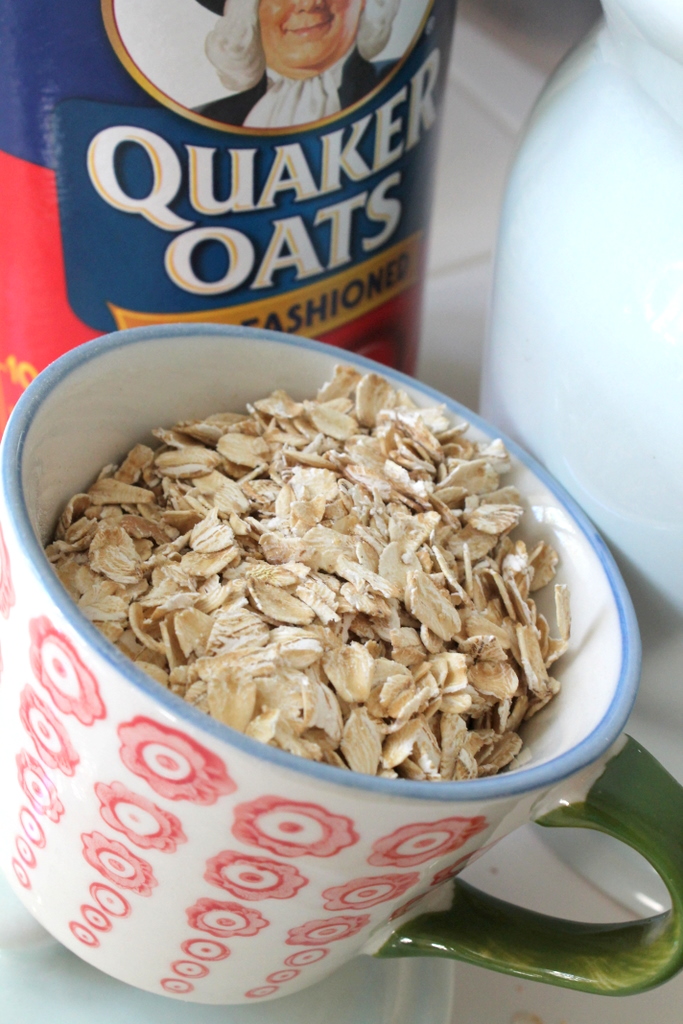
3 Cups of Quick Oats


In a saucepan, whisk the butter, sugar, splenda, vanilla, cocoa and milk together.
Let boil for about 1 minute.


Stir in your nut butter.  I found this at Target and I realllly like it!

Moving quickly, add your oats and remove from heat.


 It should look all nice and messy, like this:

Lay out some wax paper and drop spoonfuls of the mixture.

It's gonna be tempting, but try realllllllly hard not to eat one until it's nice and cooled.  Or you can stick a few in the freezer like I did ;)


Yum!

Wednesday, January 18, 2012

DIY: Painted Outdoor Rug


I have had a couple of brown, boring runners for a few years now.
 They have never been my favorite but when we bought them, we lived in a home with cold, tile floors and really needed them and they were a good deal, so we have been using them in every house along the way.
They have ended up in the laundry room, in the hall and everywhere else.  I decided to take one of them and paint it to something I liked a little better.
Turns out, I created myself a pretty good lookin' outdoor rug and I'd love to show you how you can take an  indoor rug and create an outdoor one out of it!

Here's what I started with:


Step 1: Tape off your rug.
I took the rug outside, laid it on a tarp and taped off even sections with masking tape for my stripes.
Using a T ruler really helped me to get the lines straight. 


Step 2: Choose your spray paint.  
I picked up 2 colors of spray paint..one in Krylon's Catalina Mist, an aqua color (surprise! surprise!) and the other in a warm brown.  I also used this handy spray paint gun attachment...a MUST have for spray paint lovers.
  Believe me, it will make your life THAT much easier and it's only a few bucks!


Step 3:  Spray paint your heart out.
 I will admit that this rug soaked up lots of paint.  It took about 4 coats per each stripe to get it covered good.
 I also had to be careful not to get the brown paint on the blue paint and visa versa.  I got a little creative and used a couple pieces of poster board to protect the alternate stripe...you guys are smart so I am sure you can figure out your own solution for keeping the stripe colors separate...there are many solutions!  Usually just ends up being what you have handy...cardboard, old rags, etc.


Here is the after!

Originally I had thought I would put it inside but Seth complained that it wasn't "soft" anymore, so I moved it outside and it works like a charm!  I don't know why I didn't think to do this sooner.  It complete's our outdoor living room set up...just need this weather to stay warm so I can put some purty flowers out!


I'm also excited about my new business, Rodan+Fields!
Since I have begun, I have had more time AND funds to do the things I LOVE, including DIY crafts and spending time with my family :)
If you haven't heard of Rodan+Fields, it's a new Anti-Aging skincare line from the brilliant doctors who created Proactiv and let me just tell you, IT WORKS!!!

If you are worried about your wrinkles, dark spots, melasma, acne, or red and sensitive skin, I have GREAT products for you!!!
If you use Obagi, you will get even better results with our ANTI AGE regimen.
60 day money back guarantee on ALL products!
KathlynWade@hotmail.com

Tuesday, January 17, 2012

Love Your State and Warm Weekends

I added a few new fun things to my shop this morning. 
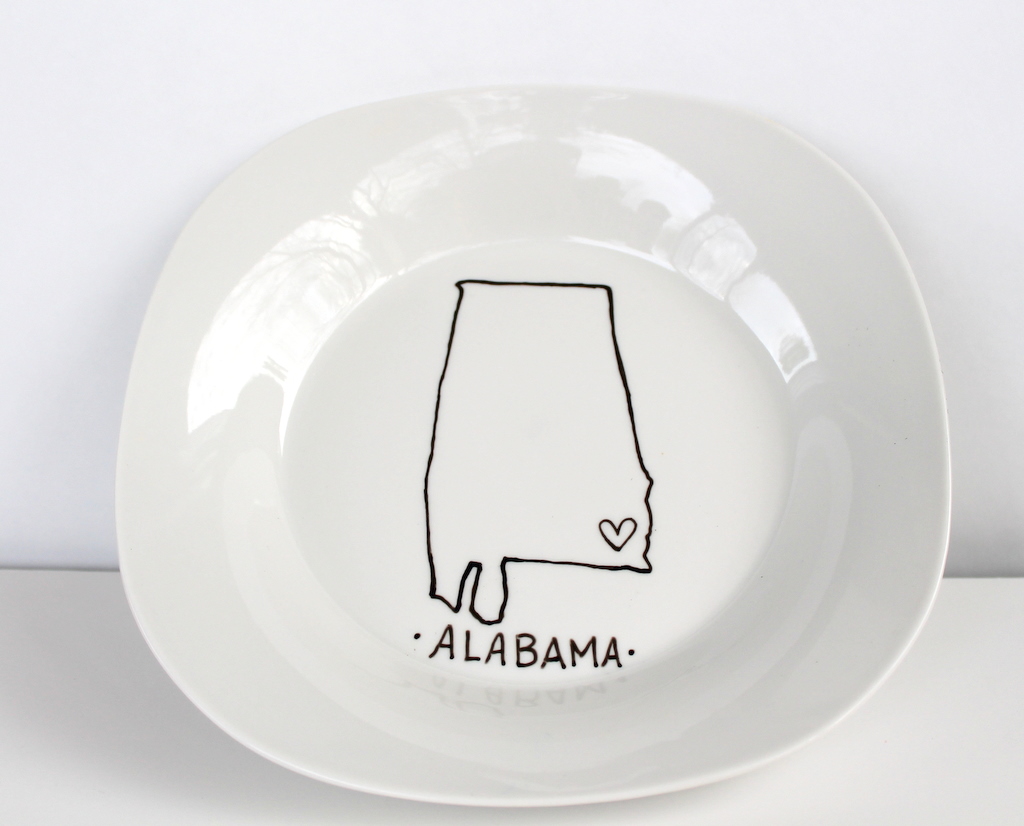
 I am especially excited about these state plates:
Virginia and Alabama State Plates
Available in any state or country!


I created this plate for Valentine's. 
I think it would make a cute gift for some love birds.


I can't believe it's already time to be thinking of Valentines!

I always say that after the holidays are over, I'm done with the cold weather and ready for Spring.
Luckily, we have had some super warm days down here in the south and it really has felt like Spring.
We took advantage of the park a couple blocks down from us...it would be a shame to waste a Spring-like day in the middle of winter! Don't you agree?


This one seriously cracks me up.  I was trying to take a picture of Caleb when I realized Seth was standing behind him, pretending like he was going to get him with a bat!  Caleb had no clue...