Showing posts with label homemade. Show all posts

Monday, January 23, 2012

Sew-For-Yourself: Monogrammed Apron


Step 1: Start with a square piece of fabric.
I chose a light blue and white seersucker...you can use anything for this project!

Step 2: Hold it up to your "client" and get an about measurement of where to cut for the arms.  
This can be made for a child or an adult! 

Step 3:  Cut armholes as shown.

In order to get matching armholes, fold your material in half, length wise after you cut the first armhole and use that as a guideline to cut your second armhole (pictured below):


Now your material should look like this:

Step 4: Hem all edges.
I serged around the edges first and then did a 1/4" hem with my sewing machine all the way around.


 Step 5: Add elastic to neck line.
I cut a piece of narrow elastic, pinned it to each side of the top and sewed straight across.  I chose to use elastic for the neck because now my little "client" can pull it on and off easily without needing me to tie it for him.


Step 6: Add ribbon to sides of apron.
I had a roll of wide, grosgrain ribbon on hand.  I cut two equal pieces and sewed each one onto either side of the apron, right at the base of the arm cut outs.


I added some fray check to the ends of my ribbon to keep it from fraying and looking sloppy.


Step 7: Grab some felt and cut out your monogram letter.
I used black for contrast.  I free-handed the letter C, but you could print out a letter from your computer, cut it out, pin it onto the felt and cut around it if you are looking for a certain font, like a pretty cursive!


Pin the letter on and carefully stitch it onto your apron.


This is an optional step.  I used my remaining pieces that I cut from my arm holes in step 3 to make a pocket.  

Just hem around the edges.
The left is a picture of what the back of your pocket will look like and the right side is what the front will look like:

Then I sewed the sides and bottom of the pocket onto the apron, leaving the top open.
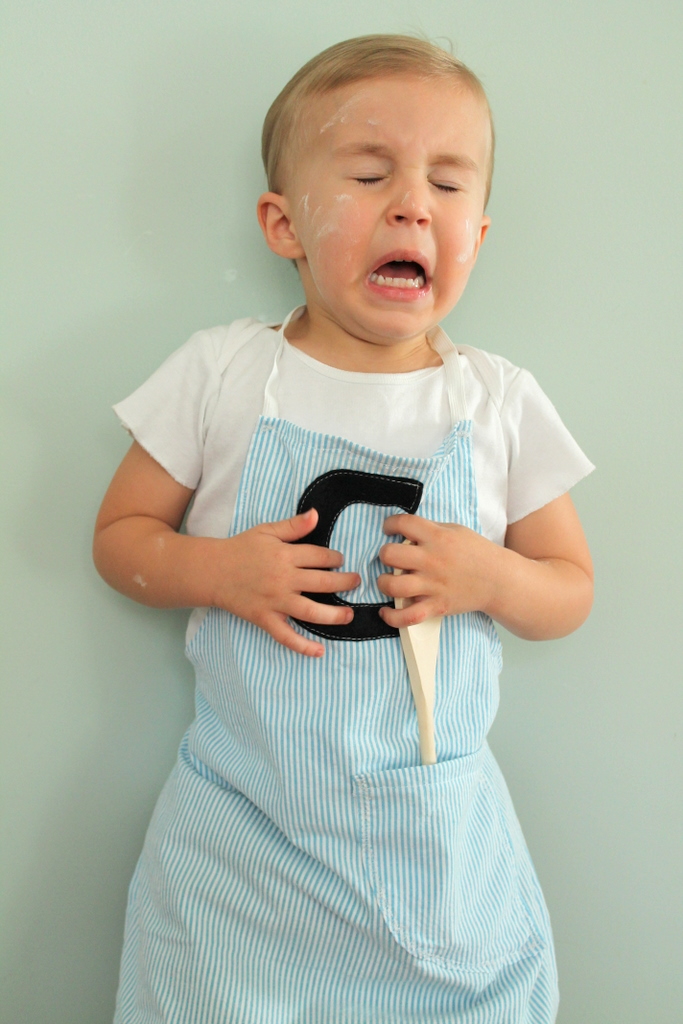
Someone loved it.


He likes to "cook" with me.  In fact, we "cooked" up some chocolate milk as soon as he got his apron on!  He thinks stirring means he's cooking something good...so he get's to do lots of stirring :)
 Look at this kid.  He's so serious.


A little too much flour on his nose.

This apron would make a great gift too!  For birthday people of all ages :)
Easy, functional, fun and "client" approved!

Happy Monday everyone!
Don't forget, there's still one more day left to get your coupon codes for the Valentine Mug sets.
Valentines Day is only THREE weeks away!!!


Tuesday, December 13, 2011

Waxy

Yesterday, Caleb and I did a little crayon craft.  

We taped crayons onto a canvas.


Very sporadically.

Then we used a little hair drying power.

 Starting to look cool!

Gets a little messy, but it wouldn't be as much fun if it was a clean craft.
Some of our crayons fell off, but we just held them on.

We kept on blow drying until we liked what we saw.

Ta da!  
The power of wax, a blow dryer and a kid who might turn out to be a scientist.

Summer Version:  I was thinking that it would be fun to cut crayons up and lay them on the canvas out in the hot sun, then check back every hour or so to see the progress.  Plus, my hand wouldn't be so tired from holding a hair dryer... ;-)

We stayed home all day yesterday and this really helped break up our day.  It was a craft that took longer than 5 minutes...and those are the ones I really love!

Thursday, November 17, 2011

DIY Christmas Art

I wanted something Christmas-y, inexpensive, simple and modern to put on my mantle this year...so I decided to make it myself (surprise, surprise!).
 Let me just tell you, this tutorial is super easy and I have had several people over to the house tell me they think it's so cute.

Start with a blank canvas.

You'll also need some paint...I did bright, Christmas red, but gold or silver or green would also be fun!
Paint your entire canvas, including the sides.
Then you need a paint pen.  I chose white.

Next, I opened up WORD and found three fonts that I really liked. 
 I typed "ho ho ho" in those three different fonts and free-handed the font types onto my canvas...I just used it as a point of reference to help me add diverse fonts for my ho's....does that sound funny to anyone else besides me?

Tip: Make sure your canvas is completely dry before you try to use your paint pens.
I also added a little peppermint stick detail to the sides of my canvas.


 Here is the finished product at night.
Is there anything more magical than Christmas lights at night? Maybe Disney World, but that's about it.


Here it is during the day!
I had fun, it was easy and only took about an hour.


Check out some of these other fun Christmas DIY's:

Cute craft for kids from Life in Motion using your kids feet!


Easy and beautiful candles using double sided tape and glitter from The Ivy Cottage:


Shabby Chic Christmas Trees from Puttin' On the GRITS


Have you done any fun Thanksgiving or Christmas crafts lately?
Share with us!

Thursday, March 17, 2011

Play Dough Time


We made play dough!
I have been wanting to get Caleb some play dough for a while and then I decided it would be much more fun if we just made some.
Here is the recipe I used although I ended up adding a lot of flour and a little salt to make it not "gummy".  That's the great thing about this recipe though...you just keep adding more flour or water until you have a good dough.


2 cups flour

2 cups warm water

1 cup salt

2 Tablespoons vegetable oil
1 Tablespoon cream of tartar (optional for improved elasticity)


food coloring (liquid, powder, or unsweetened drink mix)- I used liquid to make brighter colors


We mixed all the ingredients together...adding more flour and salt here and there.  I had a good, ready and willing helper.


Step 4 takes the longest-adding the food coloring and kneading the dough reallly good to get the color a good solid color.


Next I stuck it in the fridge for about 20 minutes to let it get good and set...and then it's time to play!


Caleb had a lot of fun...and for that matter, so did I!  I stuck the playdough in a tupperwear container when we were done and he can play with it over and over!  I am waiting for some lavender essential oil to show up in my mailbox so I can mix some of that in the dough...and then I will let Caleb play with it before bedtime in hopes of it relaxing him.....a mama can dream, right? ;-)

In other news, I found out yesterday that some of my etsy items were featured in a contest on HGTV.com!
Here is the link if you are interested in looking:
Scroll down under the photo of the kitchen and click on "See Vanessa's Picks for KellyAnn".
You will see my "EAT" letters, Black and White Peacock Teapot and Shabby Chic Platter.
I am still beside myself about it...very big news for this small town girl...now I am just waiting for the news that someone at hgtv made a huge mistake ;-)